Excavator turbocharger failure is often diagnosed from low power, smoke, oil consumption or unusual noise. Those symptoms justify inspection, but they do not prove the turbocharger is the root cause. A restricted air filter, split charge-air hose, exhaust restriction, oil-supply problem, blocked oil drain, crankcase-pressure issue, fuel fault or control problem can create similar complaints. Some of those faults can also damage a replacement turbocharger if they remain in the engine.
A defensible repair order therefore needs two decisions: whether the turbocharger itself is damaged, and what condition caused that damage. This guide organizes the evidence for both decisions, then turns it into an RFQ and pre-installation release record. Use the applicable excavator and engine manuals for test conditions, limits, fasteners and commissioning procedures.
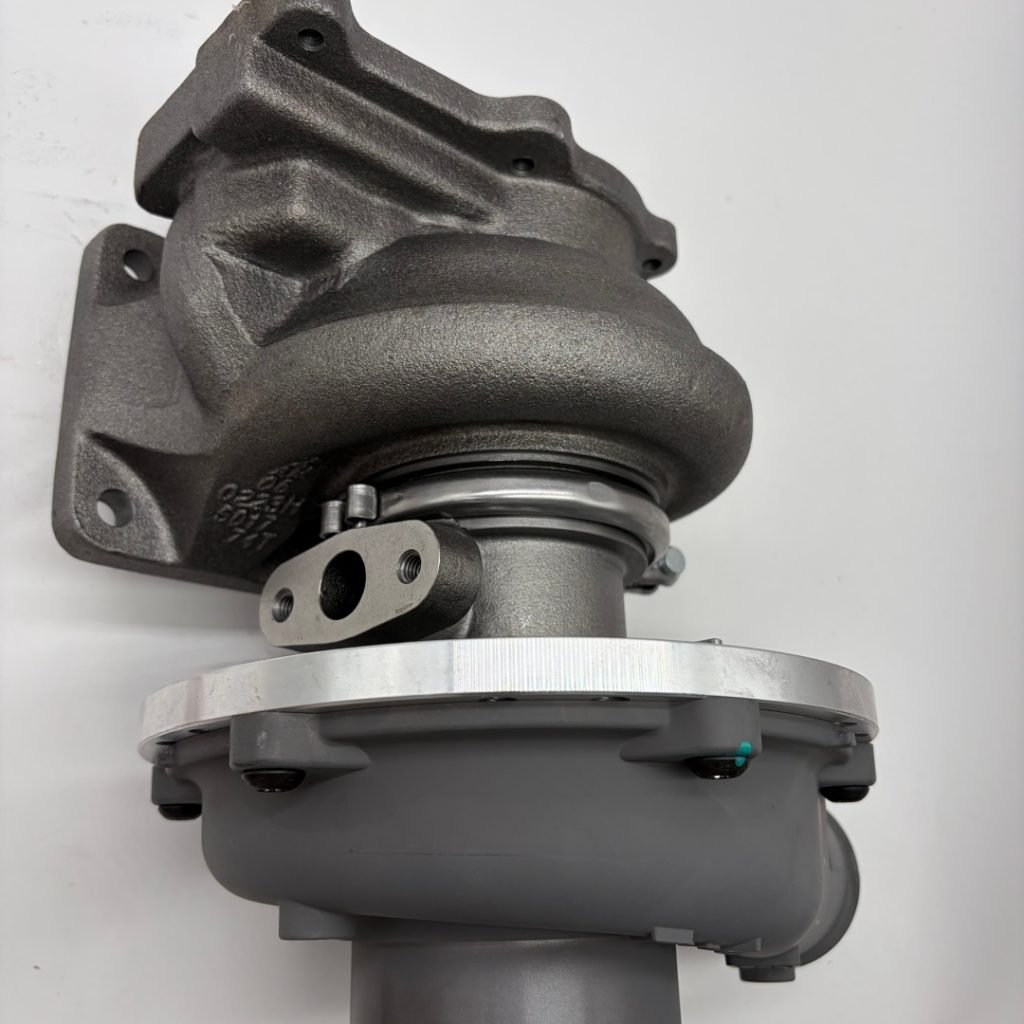
Why turbo damage may be the result, not the cause
A turbocharger connects several engine systems. Exhaust energy drives the turbine; the compressor moves intake air; engine oil supports the rotating assembly; charge-air pipes carry compressed air; and some designs add wastegate, variable-geometry or electronic actuator controls. A fault outside the turbo can change air flow, exhaust energy, lubrication or control response.
Garrett Motion’s turbocharger diagnostic guide advises checking the wider system before replacement and lists air-filter, pipework, injection, exhaust and lubrication faults among possible causes of turbo-like symptoms. Cummins makes the same core point in its Holset troubleshooting matrix: loss of power, smoke, oil leakage, heat and noise may be linked to several engine-system conditions.
For a B2B buyer, the practical consequence is clear. A quotation should not begin with “send the same turbo.” It should begin with the engine identity, the old turbo identity, the operator complaint, inspection findings and the suspected failure path.
Translate symptoms into systems to inspect
Describe what the machine does, when it happens and what changed before the complaint. Record load condition, temperature state, recent engine work, filter service, hose replacement and warning codes. Avoid labels such as “turbo blown” until the evidence supports them.
| Observed symptom | Systems to check before blaming the turbo | Turbo evidence that matters |
|---|---|---|
| Low power or slow response | Air cleaner, intake restriction, charge-air leaks, exhaust restriction, fuel delivery, sensors and control system | Verified boost/control test, wheel condition and repeatable response |
| Black smoke | Restricted air path, leaking charge-air system, injection problem, exhaust restriction or operating load | Compressor condition, actuator operation where fitted, and measured findings under the manual |
| Blue smoke or rising oil use | Crankcase ventilation, engine wear, oil level, oil drain restriction and upstream oil source | Oil location on inlet/outlet sides, drain condition and bearing/housing inspection |
| Whistle, scraping or changed noise | Loose clamps, cracked ducts, exhaust leaks, damaged supports or nearby rotating equipment | Blade damage, housing contact and shaft/bearing findings by a qualified technician |
| Oil around the turbo exterior | Oil feed/drain fittings, nearby engine leaks and oil tracking from above | Cleaned-area leak source and flange/connection condition |
| Boost or actuator fault | Harness, connectors, sensor data, pneumatic/vacuum supply where used, calibration and control commands | Correct turbo/actuator configuration and service-tool results |
This matrix narrows the investigation; it does not replace engine-specific testing. Stop operation if the manufacturer’s warning criteria are met, if wheel damage or housing contact is suspected, or if oil ingestion could create an uncontrolled engine condition. Physical inspection should be performed with the engine stopped and cooled under the service procedure.
Watch the diagnostic method before replacing the unit
The following Garrett Motion video shows a general technician workflow: begin with the complaint and repair history, check connected systems, then follow symptom paths for noise, leakage/smoke or performance. It is useful process training, although it is not a service procedure for any specific excavator or engine.
Follow the root-cause sequence
1. Check the air path
Inspect the air-cleaner housing, primary and safety elements where fitted, clean-side ducting, clamps, compressor inlet, charge-air pipes and cooler connections. Look for restriction, collapsed or split hoses, loose joints, dust tracks and evidence of foreign-object entry. Do not run the engine with unprotected intake openings. Donaldson’s guidance on safety filters in off-road applications explains their role in protecting the clean-air outlet during primary-filter service or failure.
2. Check the exhaust path
Inspect the exhaust manifold, turbine-inlet joint, outlet ducting and aftertreatment or silencer components used on the machine. Leaks can reduce the energy reaching the turbine; restrictions can alter engine and turbo behavior. Record cracked parts, failed gaskets, loose fasteners and signs of abnormal heat, then compare them with the applicable repair procedure.
3. Check oil supply, drain and crankcase conditions
Verify oil level and condition, service history, specified grade, filter status, feed-line integrity and drain routing. A restricted, damaged or incorrectly installed drain can contribute to oil appearing where a buyer might assume a turbo seal has failed. Crankcase-pressure or breather problems can also affect drainage. Use the engine maker’s tests rather than judging oil pressure or drain flow by appearance.
4. Check fuel, sensors and turbo controls
Faulty fuel delivery, incorrect sensor data or a control problem may create low-power or smoke complaints. For wastegated or variable-geometry units, document the actuator type, linkage, connector and any electronic identification. Do not adjust stops or calibration settings to compensate for an unresolved engine problem. Specialist tooling or software may be required for actuator diagnosis and calibration.
5. Inspect the turbocharger itself
With the engine safely stopped, inspect accessible compressor and turbine areas according to the manual. Record foreign-object damage, missing or bent blade material, deposits, visible contact marks, cracks, oil location and heat evidence. Shaft-movement assessment should follow the turbo manufacturer’s method; informal “feel” is not a universal acceptance limit. Preserve the old unit until the root-cause and commercial review are complete.
Read the old turbocharger as failure evidence
Do not clean or discard the old unit before documenting it. The damage pattern can help a trained specialist decide whether the next order should include only a complete turbocharger or also air-path, oil-line, actuator, gasket, filter or engine-system work. It also creates a stronger warranty record.
| Evidence | Possible cause group | What to verify before installation |
|---|---|---|
| Impact or bent compressor blades | Foreign object, failed intake component or debris left after service | Air cleaner, ducts, fasteners and entire charge-air path |
| Wheel-to-housing contact | Bearing damage, lubrication fault, imbalance or another rotating-assembly problem | Oil supply/drain, contamination history and specialist failure report |
| Oil on compressor or turbine side | Drain restriction, crankcase pressure, engine oil source, wear or sealing problem | Exact oil location plus engine, breather, feed and drain findings |
| Heavy deposits or coking | Oil condition, heat, drainage, operating pattern or engine-system issue | Lubrication history, oil lines, cooling/heat causes and service instructions |
| Cracked housing or damaged flange | Heat, stress, support/alignment problem, impact or prior installation damage | Manifold, supports, mating faces, duct alignment and cause of stress |
| Actuator or vane fault evidence | Control, calibration, deposits, linkage or electrical/pneumatic issue | Correct configuration, commands, harness/supply and calibration process |
These patterns indicate where to investigate; they are not single-cause verdicts. Ask the repairer to distinguish observation from conclusion and identify the manual, measurement or teardown evidence behind each decision.
Identify the replacement by engine and turbo data
The machine model is only one part of identification. Engines may have been changed, production ranges may use different turbo arrangements, and actuator or housing orientation can vary. Capture the excavator plate, engine plate, full engine serial number, turbocharger tag and every stamped or cast marking. Photograph the complete installed unit before disconnecting it.
The Hongtengda excavator turbocharger category is a starting point for current model families. Examples include a Hitachi ZAX330-3 / 6HK1 turbocharger listing, a Yanmar 4TNV98-1 turbocharger listing, and a CAT 336D / C9 turbocharger listing. Each still requires tag, engine and interface confirmation.
| RFQ field | Buyer evidence | Supplier confirmation |
|---|---|---|
| Machine identity | Brand, model, serial number, serial prefix and plate photo | Machine reference repeated on quotation |
| Engine identity | Engine model, full serial number, arrangement data and plate photo | Engine application used for selection |
| Turbo identity | Complete tag, all numbers, casting marks and old invoice if available | Quoted turbo number and cross-reference basis |
| Physical interfaces | Compressor/turbine orientation, flange faces, oil/coolant connections, actuator and brackets | Annotated photo or drawing match |
| Supply scope | Required gaskets, studs, lines, actuator, fittings and installation parts | Included, excluded and reused items |
| Failure evidence | Symptoms, codes, air/oil/exhaust checks and old-unit photos | Pre-installation actions and warranty evidence required |
| Validation | Applicable engine service procedure and installer capability | Test or inspection record supplied with the unit |
Set a pre-installation release gate
Do not release the replacement for installation until the suspected root cause has been addressed and the identity package is reconciled. Garrett’s turbocharger installation guidance calls for diagnosis before replacement, correct gaskets, clean oil and filters, and attention to oil contamination, oil starvation, foreign objects, speed and temperature causes. Apply the engine and turbo instructions for the specific unit.
- The engine plate and turbo tag agree with the written supplier selection.
- Housing orientation, flanges, connections, actuator and brackets match the approved comparison.
- The intake, charge-air and exhaust paths are clean, intact and free of unresolved restriction or debris.
- Oil feed, drain, breather and engine-lubrication findings are documented and corrected where required.
- Required filters, fluid, gaskets, lines and installation items are available and meet the service procedure.
- Any actuator setup or calibration method is identified before installation.
- The old-unit failure report and photographs are retained with the work order.
- Priming, fastener, bleeding, first-start and commissioning steps come from the applicable instructions.
Commission and preserve the commercial record
After installation, use the manufacturer’s first-start and warm-up procedure. Check oil, air and exhaust connections safely, review fault data, and confirm the original complaint under controlled conditions. Stop if abnormal noise, smoke, leakage, temperature, oil pressure or uncontrolled engine behavior appears. Do not continue testing in an attempt to make a mismatched or damaged unit work.
Keep the receiving photos, supplier confirmation, old turbo, root-cause report, installation checklist and commissioning results together. If a problem appears later, this record helps distinguish part identity, installation condition and unresolved engine-system causes.
For a written turbocharger identification review, send Hongtengda the excavator plate, engine plate and serial number, complete turbo tag, installed-unit photos, symptom history, old-unit damage photos and air/oil/exhaust findings. That evidence supports a clearer quotation and a safer decision than ordering from the excavator model alone.