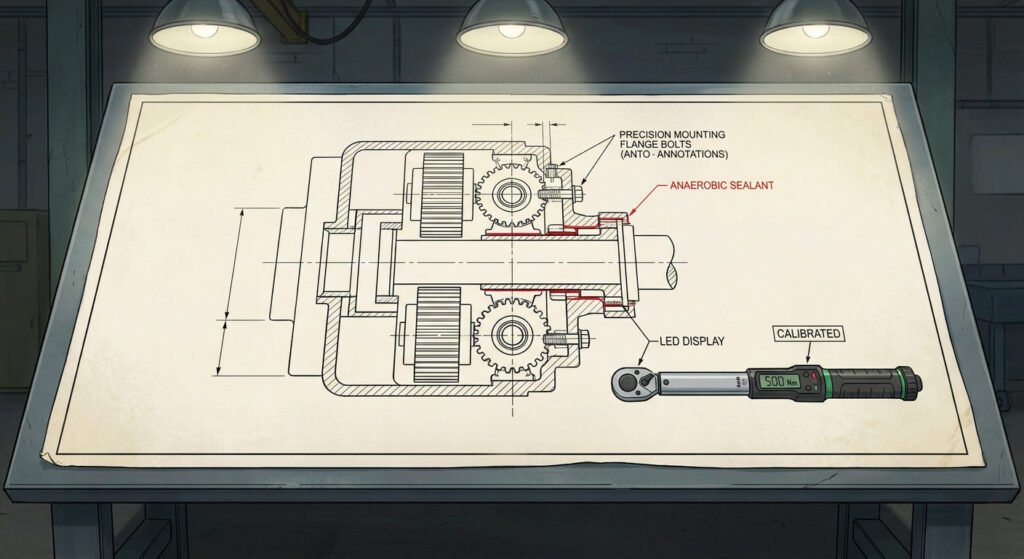
Installing or overhauling a Hitachi excavator swing gearbox (swing reduction unit) requires uncompromising technical precision. A minor variance in bolt torque, improper flange sealant application, or an incorrect alignment angle can trigger catastrophic ring gear stripping, oil contamination, or premature bearing failure. Whether servicing a classic EX200-3 or a modern ZAXIS ZX200-5G or ZX330-5G, adhering to factory-certified assembly benchmarks is essential to prevent costly equipment downtime.
This comprehensive technical guide provides field mechanics and shop supervisors with an actionable, step-by-step checklist. It covers exact Hitachi swing gearbox torque specs, anaerobic liquid gasket selection, alignment protocols, and gear oil priming instructions.
Key Takeaway: Always replace main frame mounting bolts with Grade 10.9 or 12.9 fasteners during a swing gearbox replacement. Never reuse stretched or thread-damaged bolts, and always torque in a 3-stage star pattern.
Phase 1 Checklist: Pre-Installation & Flange Inspection
Before hoisting the replacement swing gearbox into the upperstructure frame, thoroughly prepare the mating surfaces and hardware.
- Disconnect Hydraulic Power & De-energize: Shut down the engine, release residual hydraulic pressure in the pilot system, and lock out the main control valve.
- Inspect Mating Flanges: Examine the upperstructure mounting deck and the gearbox housing flange for burrs, gouges, or corrosion. Verify flange flatness across all axes using a precision straight edge.
- Clean Threaded Holes: Chase all internal threaded mounting holes in the upperframe using the correct tap size (M20 or M24) to remove hardened threadlocker, dirt, and rust. Clean thoroughly with brake cleaner and compressed air.
- Inspect Fasteners: Inspect new mounting bolts. Confirm thread pitch, length, and hardness stamping (Class 10.9 or 12.9 required).
- Check Slewing Ring Pinion & Teeth: Inspect the swing bearing (slewing ring) internal gear teeth for pitting, metal debris, or abnormal wear patterns. Pack clean grease into the swing tooth cavity if required.
Phase 2 Checklist: Sealant & Threadlocker Selection
Proper sealant selection prevents hydraulic gear oil from leaking into the lower grease bath or escaping along the housing flange.
- Select Flange Sealant: Use a high-performance anaerobic liquid gasket such as LOCTITE 510 anaerobic flange sealant or ThreeBond 1211. Anaerobic sealants cure in the absence of air between rigid metal flanges and will not shred or clog internal oil passages like standard RTV silicone.
- Apply Flange Bead: Degrease mating surfaces with solvent. Apply a continuous, unbroken 2 mm to 3 mm bead of anaerobic sealant around the mounting flange perimeter, ensuring the bead encircles the inside of each bolt hole.
- Select Threadlocker:
- Apply LOCTITE 271 (High Strength / Red) or equivalent to main frame mounting bolt threads.
- Apply LOCTITE 243 (Medium Strength / Blue) to swing motor top cover and oil seal retainer bolts.
FLANGE SEALANT APPLICATION Bolt Hole Continuous 2-3mm Anaerobic Bead Bolt Hole (O)============================================(O) Inner Flange Rim
Technical Reference Table 1: Hitachi Swing Gearbox Bolt Torque Specs
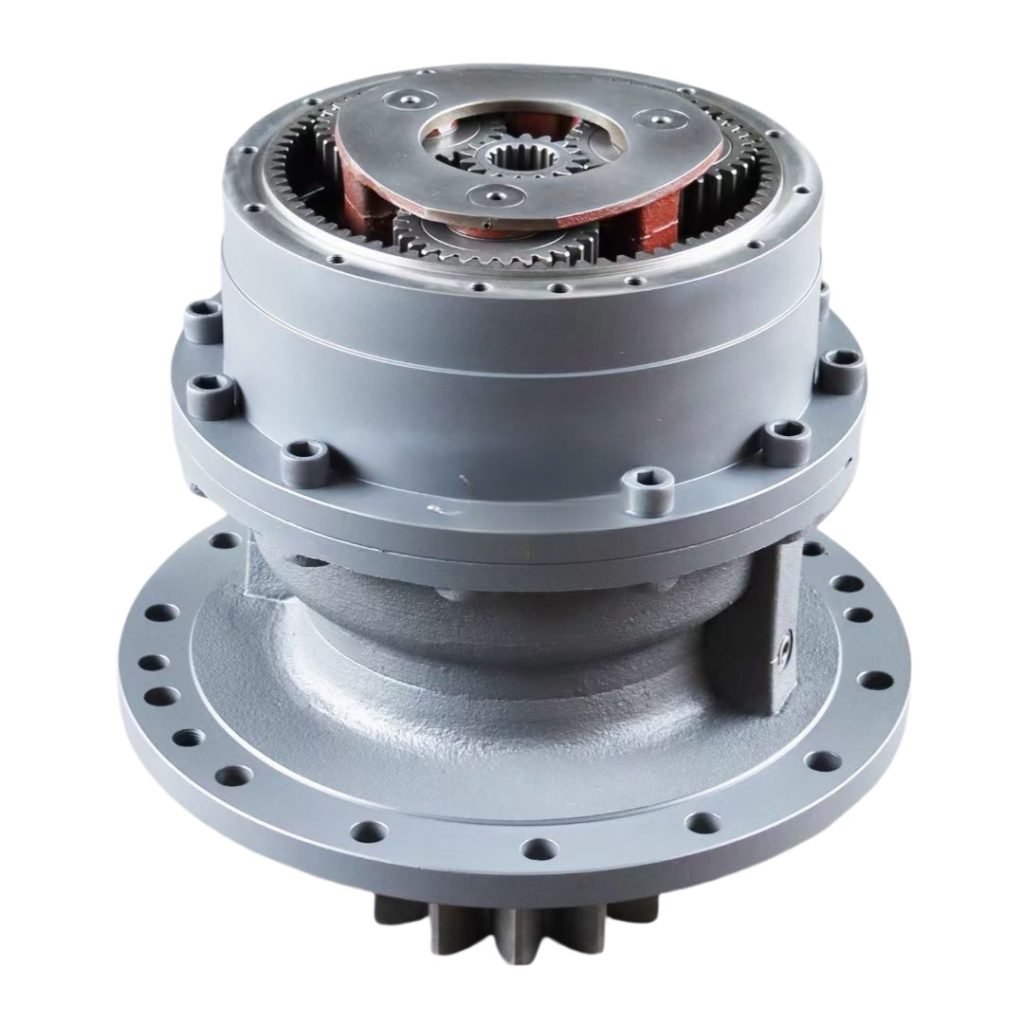
The table below outlines standard factory bolt torque specifications across key Hitachi excavator model series according to Hitachi service manual specifications.
| Fastener Location | Bolt Size / Grade | Wrench / Socket Size | Torque Spec (N·m) | Torque Spec (lbf·ft) | Threadlocker / Sealant |
|---|---|---|---|---|---|
| Swing Motor to Reduction Casing | M14 × 1.5 (Grade 10.9) | 22 mm | 270 ± 25 N·m | 200 ± 18 lbf·ft | LOCTITE 243 |
| Swing Motor to Reduction Casing (ZX330) | M16 × 2.0 (Grade 10.9) | 24 mm | 357 ± 35 N·m | 263 ± 26 lbf·ft | LOCTITE 243 |
| Gearbox Housing to Frame (ZX200/EX200) | M20 × 2.5 (Grade 10.9) | 30 mm | 539 ± 30 N·m | 398 ± 22 lbf·ft | LOCTITE 271 |
| Gearbox Housing to Frame (ZX330 Class) | M24 × 3.0 (Grade 12.9) | 36 mm | 1,226 ± 60 N·m | 905 ± 44 lbf·ft | LOCTITE 271 |
| Pinion Cover / Retainer Bolts | M10 × 1.5 (Grade 8.8) | 17 mm | 50 ± 5 N·m | 37 ± 4 lbf·ft | LOCTITE 243 |
| Level / Fill & Drain Plugs | Square / Hex Drive | Various | 65 ± 10 N·m | 48 ± 7 lbf·ft | Pipe Sealant Tape |
Pro Tip: When installing factory-direct Hitachi swing device assemblies, verify whether the replacement casing comes pre-filled with oil or pre-assembled. Always double-check torque values with a calibrated torque wrench prior to machine startup.
Phase 3 Checklist: Alignment & Housing Placement
Misaligning the pinion shaft during insertion can chip the slewing ring teeth or damage the lower pinion oil seal.
- Fabricate & Install Guide Studs: Thread two headless M20 or M24 guide studs (threaded rod pieces) into opposite bolt holes on the upperstructure deck. These studs guide the heavy gearbox down straight.
- Rigging & Hoisting: Attach a dual-leg lifting sling to the designated lifting eyes of the swing device assembly. Ensure the assembly hangs perfectly level.
- Lower the Gearbox: Slowly lower the gearbox over the guide studs. As the pinion approaches the internal slewing ring, gently rotate the output shaft by hand (or rotate the motor input) until the pinion gear teeth mesh smoothly without force.
- Check Flush Seating: Lower the housing until the flange sits completely flat against the deck. Verify zero gap around the entire 360-degree perimeter using a 0.05 mm feeler gauge before inserting bolts.
Phase 4 Checklist: Star-Pattern Torquing Sequence
Uneven tightening warps the reduction housing, pinching internal planetary gears and causing early bearing failure.
- Install Bolts Hand-Tight: Remove guide studs, insert all mounting bolts with hardened washers, and hand-tighten until snug.
- Stage 1 Torquing (30% Target): Torque all bolts in a cross-pattern (criss-cross) sequence to 30% of full specification.
- Stage 2 Torquing (60% Target): Repeat the cross-pattern sequence to 60% of total spec.
- Stage 3 Torquing (100% Target): Torque all bolts to 100% of final specification using a calibrated torque wrench or hydraulic torque multiplier.
- Final Pass Check: Perform a final circular pass around all bolts at 100% torque to ensure no bolt relaxed during the sequence.
CRISS-CROSS TORQUING SEQUENCE
(1)
O O
(8) (5)
O O
(4) (3)
O O
(6) (7)
O O
(2)
⚠️ Warning: Never use an uncalibrated pneumatic impact wrench for final torquing on swing gearbox mounting bolts. Over-torquing stretches bolts beyond their yield point, while under-torquing leads to bolt loosening and catastrophic casing breakage under heavy swing acceleration.
Technical Reference Table 2: Oil Capacity, Viscosity & Sealant Matrix
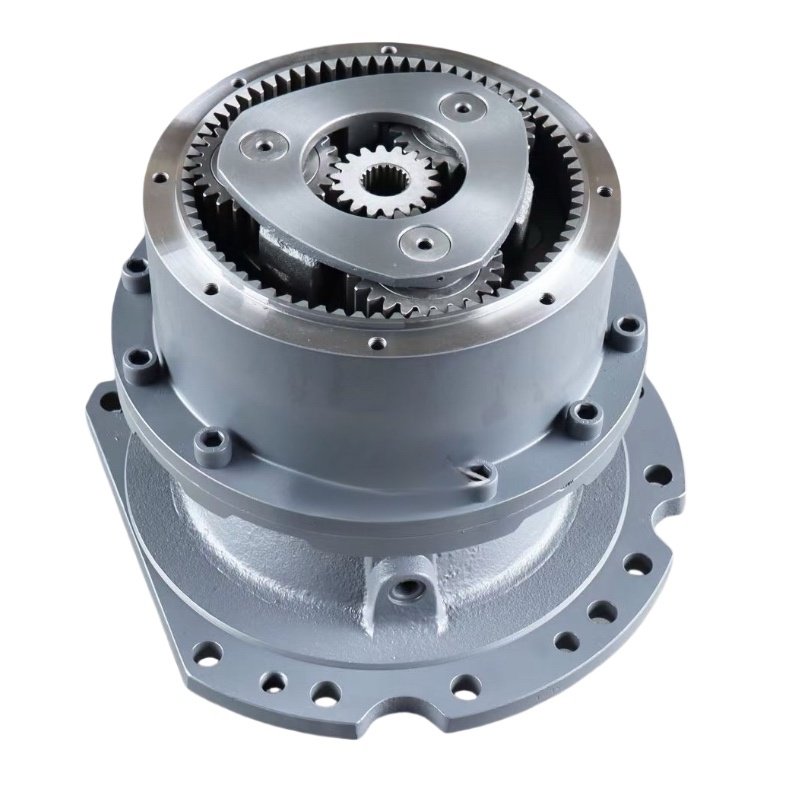
Maintaining exact gear oil levels inside the swing reduction unit prevents dry-start friction and thermal breakdown of the planetary gears.
| Hitachi Excavator Model | Swing Reduction Oil Capacity | Recommended Oil Grade | Viscosity Grade | Primary Flange Sealant |
|---|---|---|---|---|
| EX200-2 / EX200-3 / EX200-5 | 6.5 Liters (1.72 US gal) | Heavy Duty EP Gear Oil | SAE 80W-90 GL-5 | LOCTITE 510 / ThreeBond 1211 |
| ZX200-3 / ZX200-5G / ZX210 | 6.7 Liters (1.77 US gal) | Hitachi Genuine Gear Oil | SAE 80W-90 GL-5 | LOCTITE 510 / LOCTITE 518 |
| ZX330-3 / ZX330-5G / ZX350 | 10.5 Liters (2.77 US gal) | Heavy Duty EP Gear Oil | SAE 80W-90 GL-5 | LOCTITE 510 / LOCTITE 518 |
Phase 5 Checklist: Gear Oil Fill, Air Bleeding & Initial Break-In
Proper lubrication requires eliminating trapped air pockets inside the multi-stage planetary reduction gear sets.
- Clean Oil Fill Port: Remove top vent plug and oil level dipstick.
- Fill Gear Oil: Pour fresh SAE 80W-90 GL-5 gear oil through the fill port until oil reaches the FULL mark on the dipstick (submerging the first-stage sun gear).
- Bleed Trapped Air: Wait 10 to 15 minutes for oil to settle into the lower planetary gear stages. Open the top air vent plug on the reduction casing to release trapped air bubbles.
- Top Off Oil: Re-check dipstick level and add oil if the level dropped after air purging.
- No-Load Swing Break-In: Start the excavator engine at low idle. Perform slow 360-degree swing rotations (5 revolutions clockwise, 5 revolutions counter-clockwise) with no load attached to circulate oil across all Hitachi swing planetary gear series components.
- Re-Check Leaks & Level: Re-check dipstick level and inspect mounting flange for oil weeping.
Troubleshooting & Common Maintenance Issues
| Symptom | Probable Cause | Corrective Action |
|---|---|---|
| Oil leaking from lower casing into swing bath | Blown lower main pinion oil seal or worn output shaft bearing | Replace bottom oil seal kit; check pinion shaft endplay. |
| High-pitched whining or grinding during swing | Insufficient gear oil, air lock, or damaged planetary sun gear | Purge air, check oil level; inspect planetary gears for pitting. |
| Swing device bolts loosening repeatedly | Reused stretched bolts, lack of threadlocker, or flange warping | Replace with new Class 10.9/12.9 bolts; apply LOCTITE 271 and re-torque. |
| Gearbox casing running hot (>85°C / 185°F) | Overfilled gear oil causing aeration or contaminated oil | Drain to proper mark on dipstick; flush and refill with SAE 80W-90 GL-5. |
Get the Downloadable Quick Reference Guide
Keep your repair technicians supplied with verified technical specs right on the shop floor. Download Hongtengda’s free quick-reference resource for your field mechanics.
🛠️ Download: Hitachi Swing Gearbox Torque & Oil Quick Sheet
Includes:
- High-resolution torque sequence diagrams (M10 to M27 fasteners)
- Complete oil capacity & viscosity lookup table for EX & ZX models
- Anaerobic sealant application guide & cross-reference specs
Download Free Torque & Oil Quick Sheet (PDF)
Need factory-direct replacement parts? Explore Hongtengda’s Complete Hitachi Excavator Parts Catalog for high-performance swing gearboxes, swing motors, gear series, and hydraulic components.